The truth is, gel polish doesn’t ruin your nails—improper removal does. We’ve all been there: picking at a lifted edge until you peel off a layer of your natural nail, or filing so aggressively that your nail beds become red and paper-thin.
Learning to use an electric nail file (e-file) is a game-changer. Not only does it save you from long, messy acetone soaks, but it also gives you more control and precision. Once you master the technique, you can remove your gel polish in minutes without damaging the natural nail underneath.
Why Use an E-File for Gel Removal?
Using an e-file is widely favored for its speed and efficiency. While the traditional acetone soak method can take 15-20 minutes and can be harsh on the surrounding skin, an e-file eliminates the need for wrapping nails in foil and waiting. Plus, when done correctly, it minimizes the risk of nail damage and skin irritation, making it a preferred choice for both professionals and savvy DIYers.
Choose the Right Drill Bit
Selecting the correct bit is crucial. Not just any bit will do—you need something strong enough to break through the hardened gel layers but gentle enough not to harm your natural nail.
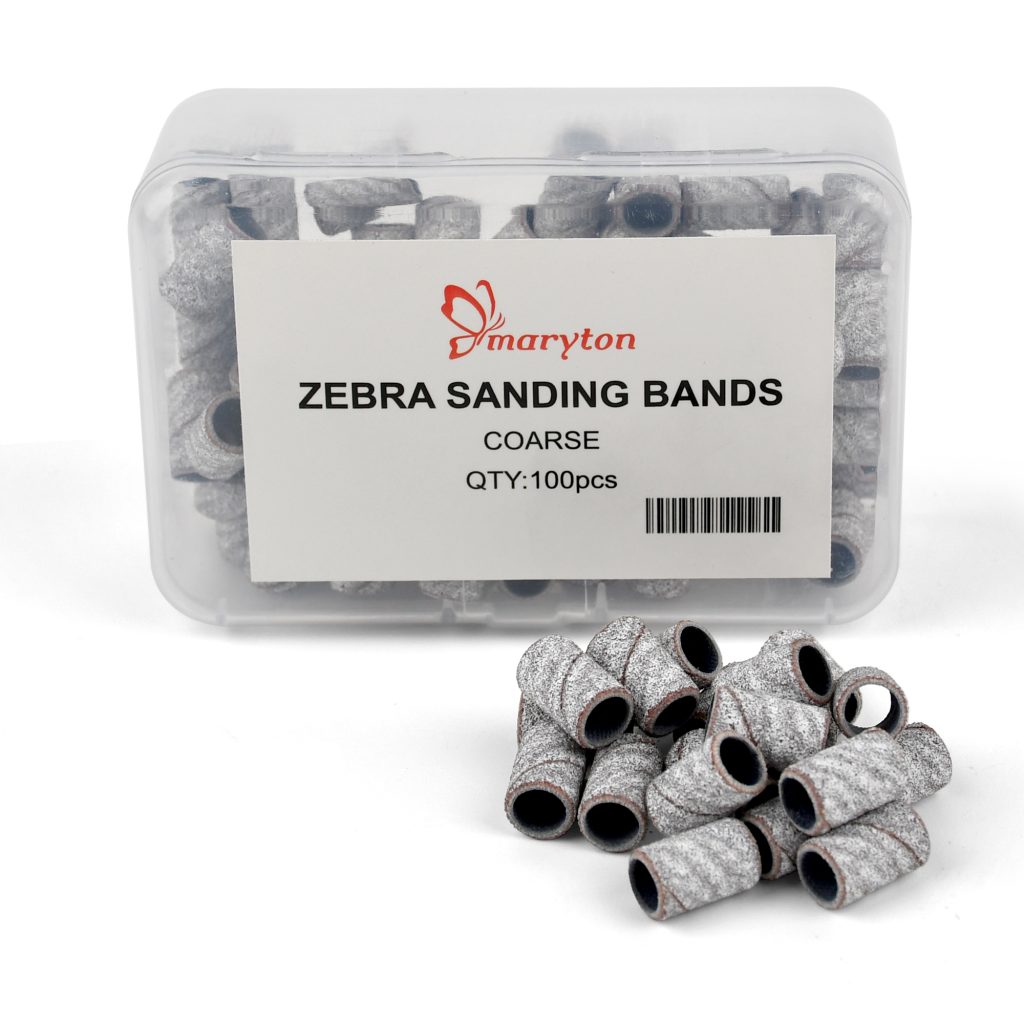
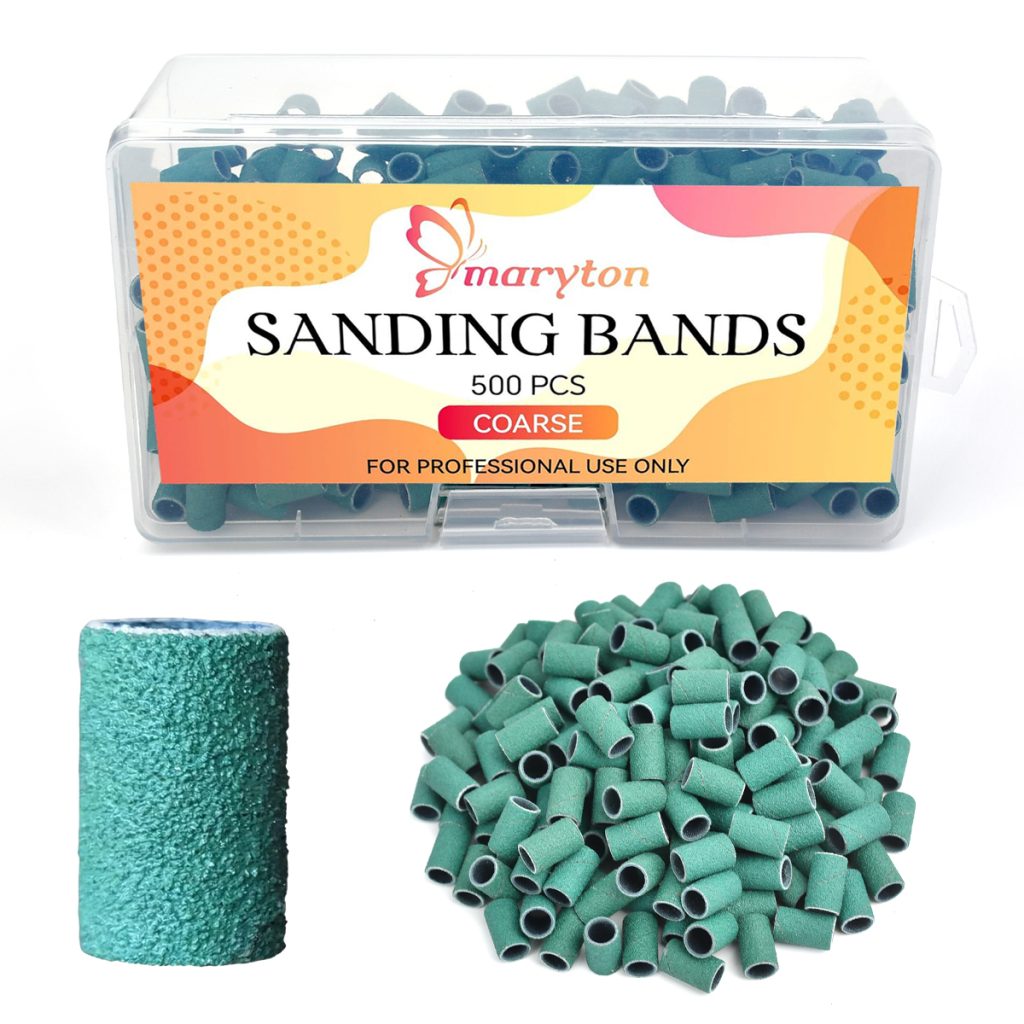
Sanding Bands (Beginner-Friendly)
A mandrel bit with sanding bands is the most forgiving and accessible tool. These are ideal for beginners who want more control. Use a fine or medium grit sanding band to buff off the shiny top coat of the gel.
Ceramic Bits (Gentle & Beginner-Friendly)
Ceramic bits are a solid option because they produce less heat due to their insulating properties. They are especially useful for clients with sensitive nails or for those new to using an e-file, as they cut more slowly and gently. They don’t heat up as fast as metal bits, reducing painful “heat spikes”.
Carbide Bits (Professional & Fast)
Carbide bits are the professional choice. They are sharp, fast, and create less dust. A barrel-shaped or safety barrel bit is incredibly effective at removing gel polish quickly. However, they do require a steady hand and a good understanding of drill speed and pressure.
The “Protection Layer” Rule
The biggest mental shift you need to make is this: you are filing the product, not the person. In a structured gel manicure, you rarely need to soak off 100% of the product every time. Instead, file off the top coat and the color, leaving a thin, clear layer of the base/builder gel behind. This clear layer acts as a shield. It protects your natural nail from the drill bit and provides a foundation for your next color application.
Step-by-Step Removal Process
Step 1: Prepare Your Nails
Start with freshly washed hands. Clip any excess nail length to make the process easier. Use a cuticle pusher to gently push back the cuticles.
Step 2: Choose Your Bit and Set the Speed
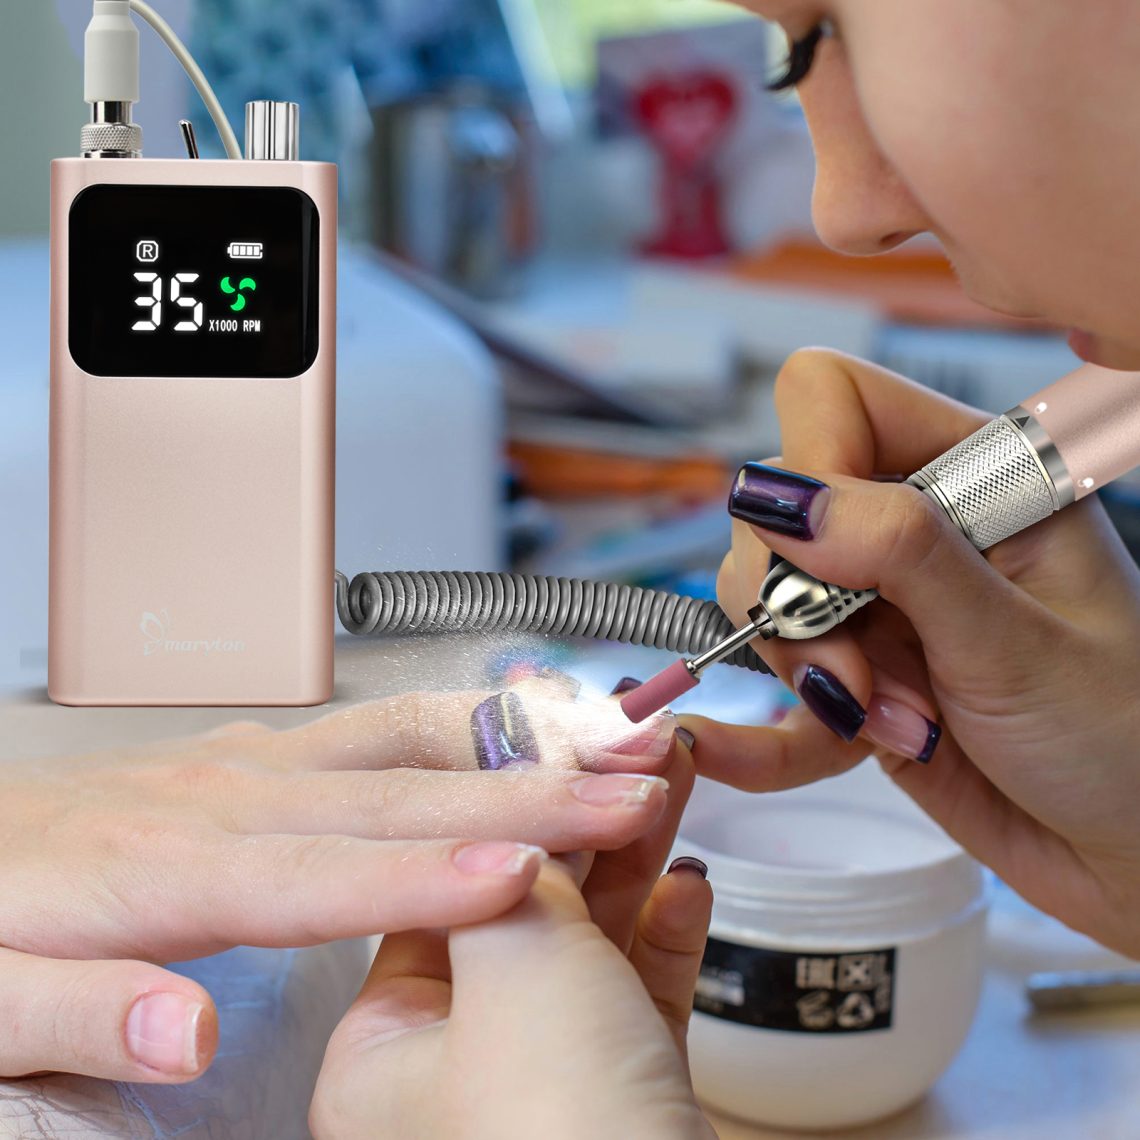
If you are using a sanding band, start with a fine-grit band. The general rule for gel removal is to keep your speed between 10,000 and 15,000 RPM. Always start low and increase only if needed. Too slow a speed (under 10,000 RPM) can cause the bit to catch and skip.
Step 3: Buff Off the Top Coat
Turn on the machine and, using light pressure, gently file away the shiny gel top coat. Don’t press too hard on the surface, but apply just enough pressure to take off the shine.
Step 4: The Technique
Hold the drill like a pencil and rest your pinky finger on the table for stability.
- Long Strokes: Start at the cuticle area (using the belly of the bit) and pull down toward the free edge in one long, smooth stroke.
- Keep Moving: Never hold the bit in one spot. Friction builds heat instantly. Keep the bit moving constantly.
- The Color Guide: As you file, you will see the dust change color. Colored dust means you are filing the gel polish. Keep going. White or clear dust means you have hit the clear base layer—STOP.
Step 5: Final Removal (Soak-Off)
Once you have removed about 90% of the color and are left with a thin, clear layer of base gel, put the drill away. Wrap the nail with acetone-soaked cotton and seal with foil. Let it soak for 5 to 10 minutes. Take a lint-free towel and wipe the nails gently. Use a cuticle pusher to gently push away the remaining gel-polish. You don’t want to push too hard, because you don’t want to take the top layer of the nail off.
Step 6: Finish Up
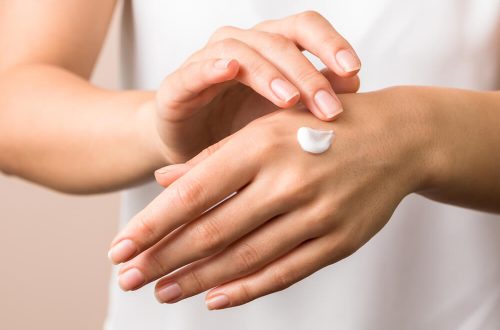
Wash your hands to remove the acetone and dust. Apply cuticle oil generously to restore moisture.
Common Mistakes to Avoid
- Using Too Much Pressure: Let the drill do the work. Pushing down creates friction, heat, and can permanently thin your natural nails.
- Stopping in One Spot: This is how “rings of fire” happen. Keep the sanding band moving constantly.
- Skipping the Base Layer: Don’t try to remove 100% of the product. That clear barrier is what protects your nail bed.
The Bottom Line
Using an electric nail file transforms gel polish removal from a messy chore into a quick, precise, and safe process. With the right bit, the correct speed, and a light touch, you can keep your natural nails healthy and strong while enjoying the long-lasting benefits of semi-permanent polish. Take your time, practice on fake tips first, and your nails will thank you.
Read also: Mini Sanding Bands: Your Secret to Salon-Perfect Nails at Home