Tired of smudging your fresh manicure before you even leave the house? Do you find yourself repainting your nails every few days to cover chips and wear? If this sounds familiar, then it’s time you met your new beauty best friend: semi-permanent nail polish.
What Exactly Is Semi-Permanent Nail Polish?
Let’s clear up the confusion first. Semi-permanent polish (often called “soft gel” or “soak-off gel”) is a type of nail polish that requires a UV or LED lamp to cure and harden. Unlike traditional nail polish that air-dries, this formula sets under a specific light, creating a hard, durable, and incredibly shiny finish.
It’s different from acrylic or hard gel extensions. Semi-permanent polish is applied directly to your natural nail to strengthen and color it, not to extend its length. The “semi-permanent” name comes from its longevity—it typically lasts for 2-3 weeks without chipping, fading, or losing its gloss.
Why You’ll Love It: The Key Benefits
So, what’s all the hype about? Here are the top reasons to switch:
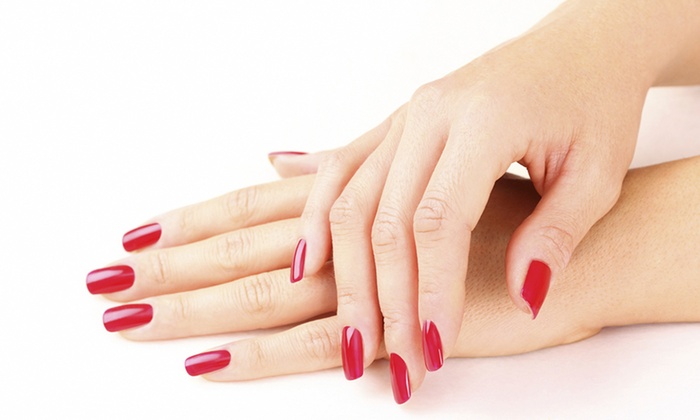
1. Long-Lasting Perfection: This is the biggest draw. Your manicure will look freshly done for weeks. No more worrying about chips after doing the dishes or typing all day.
2. Superior Shine: The cured finish has a high-gloss, salon-quality shine that doesn’t dull over time. Your nails will look professionally done, every day.
3. Durability: It’s resistant to scratches, smudges, and everyday wear and tear. It acts like a protective shield for your natural nails.
4. No Dry Time: Once you cure the polish under the lamp, it’s completely dry and hard. You can immediately grab your keys, put on your jeans, or do anything without fear of ruining your manicure.

The Application Process: A Step-by-Step Guide
For a perfect, long-lasting result, proper application is key. It’s a simple process, but precision matters.
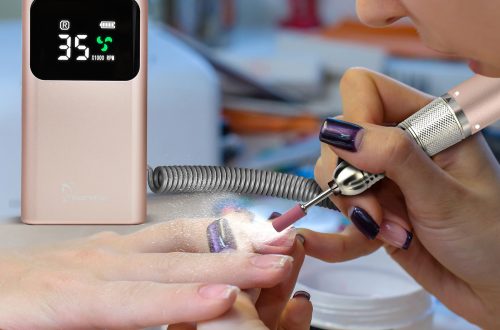
1. Prep: Start with clean, dry nails. Gently push back your cuticles and lightly buff the surface of your nail with an electric nail file. This creates a slightly rough texture for the polish to grip onto.
2. Cleanse: Wipe each nail with a lint-free wipe soaked in rubbing alcohol or a dedicated nail cleanser. This removes all dust and oils, ensuring a clean slate.
3. Base Coat: Apply a thin, even layer of the special semi-permanent base coat. Make sure to cap the free edge of your nail. Cure under the LED/UV lamp for the time specified by the brand (usually 30-60 seconds).
4. Color: Apply your first thin layer of color. Thin coats are crucial for a smooth finish and proper curing. Cure under the lamp. Repeat with a second thin coat and cure again.
5. Top Coat: Apply a final thin layer of the top coat, sealing the color and capping the edges. This layer is what gives you that incredible shine and durability. Cure for the final time.
6. Wipe: Some top coats have a sticky “inhibition layer” that remains after curing. Wipe each nail with an alcohol-soaked pad to reveal the stunning, non-sticky shine underneath.
How to Remove It Safely?
You should never pick or peel off semi-permanent polish! This is the number one rule, as it can take layers of your natural nail with it, causing significant damage.
The correct removal method is a gentle soak-off process:
1. File: Lightly file the shiny top coat off each nail to break the seal.
2. Soak: Soak a cotton ball in pure acetone (not regular nail polish remover) and place it directly on your nail.
3. Wrap: Secure the cotton ball tightly to your nail using a small piece of aluminum foil. Leave it on for 10-15 minutes.
4. Gently Remove: After the time is up, the polish should look crinkled and be ready to slide off. Gently push the remaining product off with a cuticle pusher. Do not force it. If it doesn’t budge, re-wrap and soak for a few more minutes.
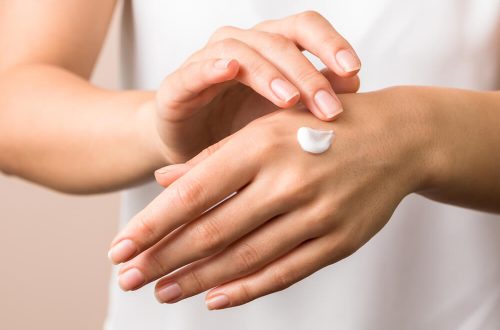
5. Nourish: Once all the polish is off, wash your hands and massage a nourishing cuticle oil or hand cream into your nails and skin. Acetone is very drying, so this step is essential.
The Big Question: Is It Bad for Your Nails?
The honest answer is: not if it’s applied and removed correctly.
The potential for damage comes from human error, not the product itself.
- Damage from Removal: As mentioned, peeling the polish is the most common cause of harm. Always follow the soak-off method.
- Damage from Application: Over-filing your natural nails during prep can weaken them. Be gentle! Also, ensure each layer is cured completely to prevent allergies or lifting.
- Nail Dehydration: Frequent use without breaks can dry out your nails. The acetone used in removal is also drying.
To keep your nails healthy, give them a break between manicures. A week or two without polish, coupled with manicure kits, will keep them strong and hydrated.
In a nutshell, semi-permanent nail polish is a game-changer for anyone who loves a flawless, low-maintenance manicure. By respecting the process—both in application and, most importantly, in removal—you can enjoy beautiful, durable nails without sacrificing their health. So why not give it a try? Your future, chip-free self will thank you.
Read also: How to take care of your hands?